
Shooting in the Dark
With wildlife photography, the best activity usually happens at the first and last light of the day. This can be frustrating when you have the subject of your dreams before you and you can’t acquire focus and see your ISO go through the roof. It can be quite challenging but you don’t need to wait to take out your camera or pack up and go home. This is when things get interesting! In this article I’m sharing some tips that I hope will help you go home with a few keepers.
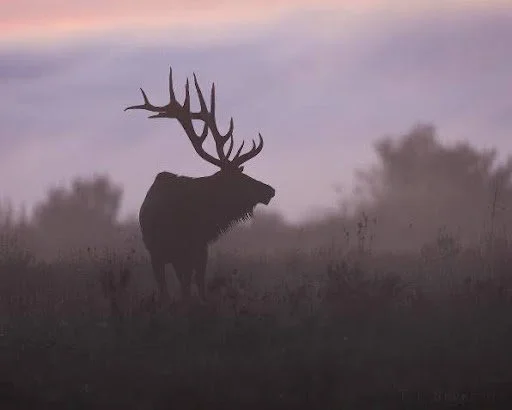
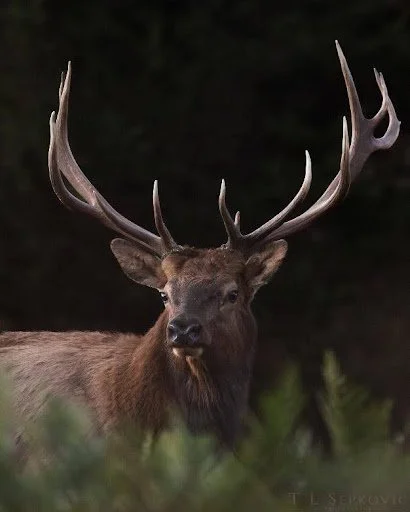
We have all been there – the sun hasn’t come up yet but action is happening. You look through your viewfinder and it’s dark. Check your settings and yikes! But don’t let that deter you. Some of my favorite images have been in some extremely low or poor lighting conditions. (Elk f/4, 1/15, ISO500)
Acquiring Focus
Autofocus systems can struggle when light is limited, but don't panic - you have options. If you're using a focus zone, try switching to a smaller focus point or zone to give the camera a more precise target. Look for an area of contrast between your subject and the background, as this often helps the autofocus lock on. If it's still hunting, manually adjust the focus ring to get close, then let autofocus take over for the final adjustment.
Use a Tripod
I know—a tripod isn't always the most convenient piece of gear to carry. But in low light, the added stability is invaluable. Since you'll often be working with slower shutter speeds, a tripod helps eliminate camera shake, reduces fatigue, and allows you to comfortably wait for just the right moment to press the shutter.
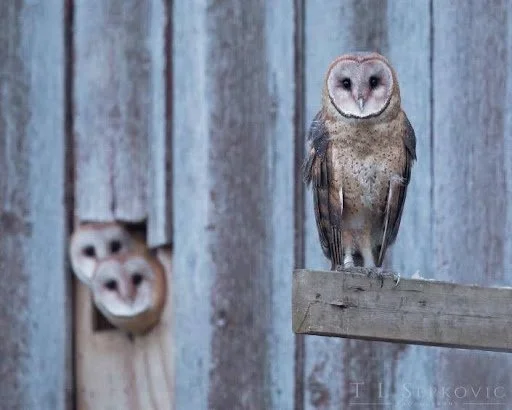
(Barn Owls f/4, 1/10, ISO5000)
Slow Shutter
One of the biggest advantages of using a tripod is the ability to experiment with slower shutter speeds. Don't be afraid to push them lower than you normally would. Spend time observing your subject and look for predictable pauses in movement. Does the elk stop grazing and lift its head? Does the bird pause after preening? Is the owl locked onto something in the distance? Those brief moments of stillness are your opportunity. Lower your shutter speed gradually until you find the sweet spot. It may be around 1/20 second for an elk, bear, or moose. Owls, in particular, are excellent low-light subjects because they often remain remarkably still. Try 1 – 3 seconds for a perched owl and do a (quiet) little happy dance when it works.
Aperture
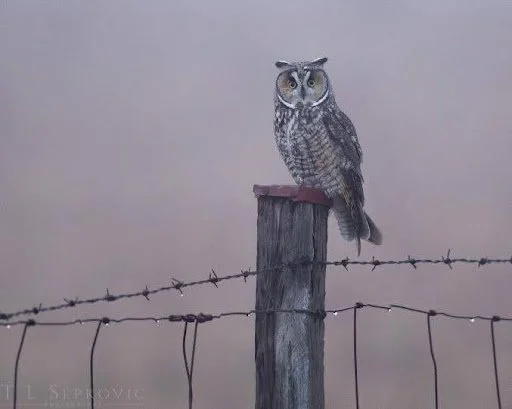
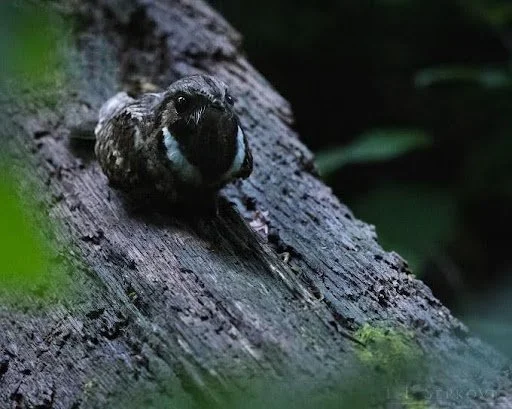
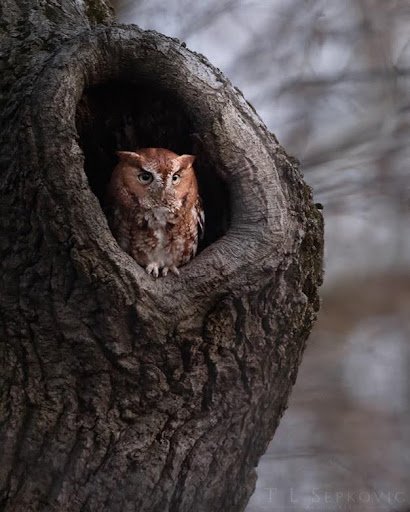
You need to get as much light as possible onto the sensor so you will want to shoot at your widest aperture – if your lens is a f/2.8 or 4.0, start there. When I am shooting with my 100-500 f/5.6-7.1 zoom lens, I may pull back to 400 to get a wider aperture instead of being at 500mm and f/7.1. With zoom lenses it becomes a little dance between range and aperture to get as much available light in as you can. (Long-eared Owl f/4, 1/10, ISO5000) (Eastern Whip-poor-will f/4, 1/15, ISO10,000)
Don’t Fear High ISO
Modern editing software does an excellent job reducing noise, so don't let high ISO numbers scare you away from taking the shot. The key is to expose the image correctly in camera. Brightening an underexposed high-ISO image during post-processing also brightens the noise, often resulting in lower image quality than if you had simply increased the ISO while shooting. It's generally better to raise the ISO in the field than to try to rescue a dark file later. (Elk f/6.3, 1/60, ISO10,000) (Eastern Screech Owl f/5.6, 1/10, ISO2000)
Get Creative
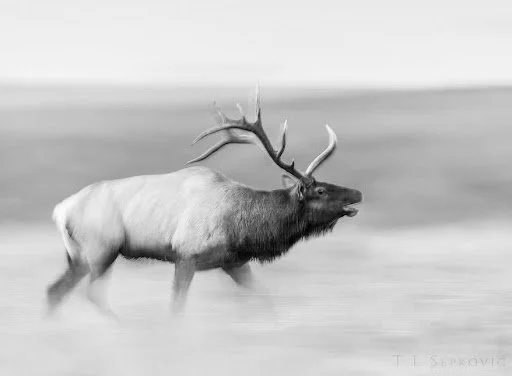
Low light opens the door to creative photography. Try panning with a moving subject. I typically start with shutter speeds between 1/5 and 1/40 second, adjusting higher if I'm photographing faster-moving subjects like birds in flight. (Elk f/4, 1/8, ISO125)
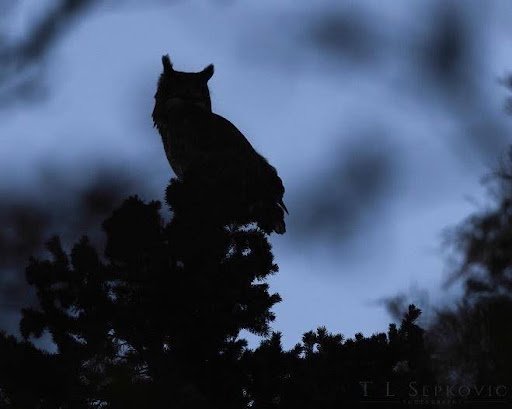
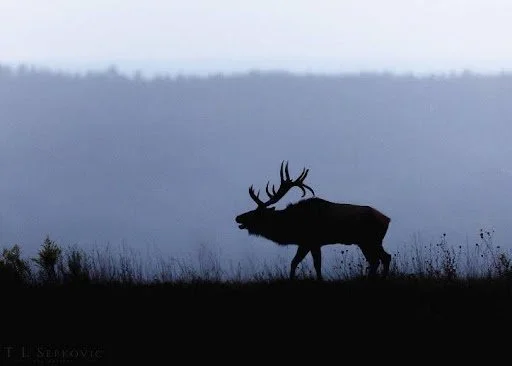
If conditions are right, experiment with silhouettes. They're not just for golden hour—low ambient light can create dramatic shapes and mood as well.
(Great-horned Owl f/4, 1/10, ISO5000) (Elk f/4, 1/100, ISO5000)
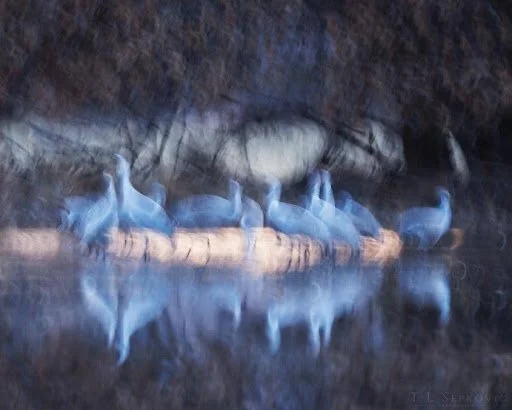
Another technique I've been enjoying is intentional camera movement (ICM). Slow your shutter speed and deliberately move the camera during the exposure. The results are abstract, impressionistic images filled with motion and mystery. They're certainly not for everyone, but I love the artistic possibilities. (Sandhill Cranes f/6.3, 1/13, 200)
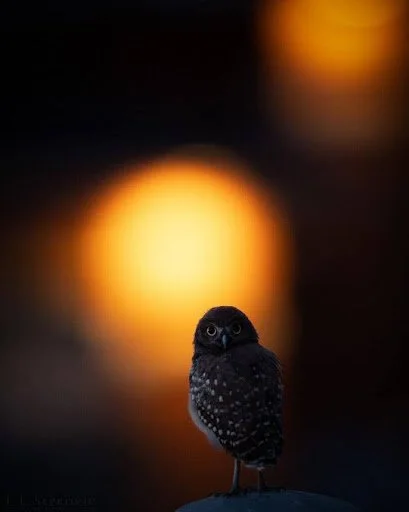
Use the light you have – it may be the moon, street lights, or ambient light from homes. Move around and see what you have to work with.
(Burrowing Owl f/4, 1/60, ISO5000)
The beauty of creative techniques is that there isn't a right or wrong way to approach them. Experiment, play, and most importantly, create images that speak to you.
Your keeper rate in low light will almost certainly be lower than it is under ideal conditions. You will not nail every shot in these conditions, but when everything comes together, these photographs often have a mood, atmosphere, and sense of mystery that's difficult to achieve in bright light.
So the next time you find yourself shooting in the dark, don't pack up your camera. Embrace the challenge—you may end up creating some of your favorite images.
